Nikon D810 Instruction Manual: A Comprehensive Guide
Unlocking your REDDDDDDD’s potential, this manual details features, installation, operation, and maintenance for seamless use – vital information awaits within!
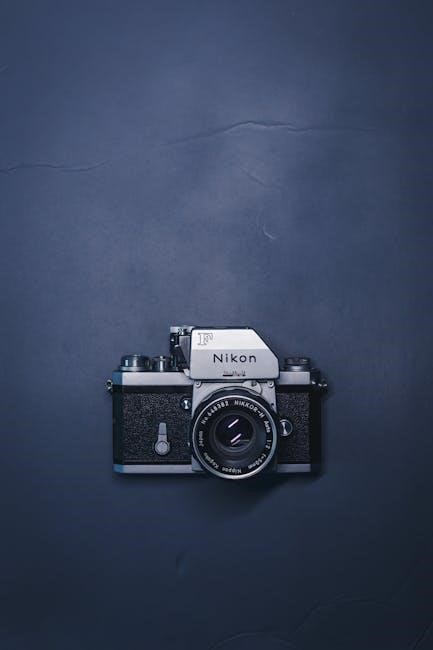
Welcome to the world of professional-grade photography with the Nikon D810! This full-frame DSLR is renowned for its exceptional image quality and robust build․ This manual serves as your comprehensive guide to unlocking the full potential of your new camera․ We’ll explore its features, from installation to advanced techniques, ensuring a smooth and rewarding photographic journey․ Prepare to delve into a detailed exploration, mastering every aspect of this powerful tool․
Key Features and Specifications
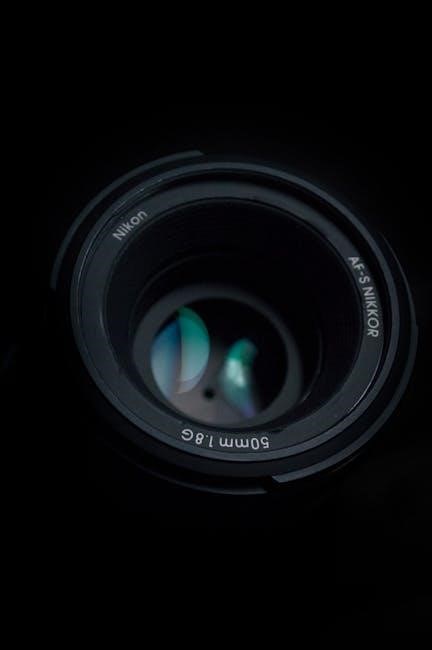
The Nikon D810 boasts a 24․3MP full-frame CMOS sensor, delivering stunning detail and dynamic range․ It features a 51-point autofocus system for precise subject tracking, and can shoot up to 5 frames per second․ Key specs include a 3․2” tilting LCD screen, full HD 1080p video recording, and dual card slots․ Its robust magnesium alloy body ensures durability for demanding shoots․
Unboxing and Initial Setup
Carefully unpack your Nikon D810, verifying all components are present․ Begin by inserting a compatible memory card and the fully charged battery․ Power on the camera and follow the on-screen prompts to set your language, date, and time․ Initial setup also includes configuring basic shooting preferences for optimal performance right out of the box․
What’s in the Box?
Your Nikon D810 package should include the camera body, a battery, battery charger, power cable, body cap, strap, USB cable, and documentation․ Also present are the software CD-ROM, and warranty information․ Carefully inspect all items for any damage during shipping, and retain the original packaging for potential returns or servicing․
Installing the Battery and Memory Card
First, ensure the camera is turned off․ Locate the battery compartment and insert the battery, sliding it into place until it clicks․ Next, open the memory card slot cover and insert a compatible SD card (UHS-I compliant recommended) label-side up․ Gently push until it locks․ Do not force either component!
Initial Camera Settings
Upon powering on, select your preferred language and time zone․ Configure the date and time accurately for proper file naming․ Choose your desired image quality settings – RAW or JPEG, and resolution․ Set the white balance to Auto initially, adjusting later as needed․ Finally, format the memory card within the camera menu for optimal performance․
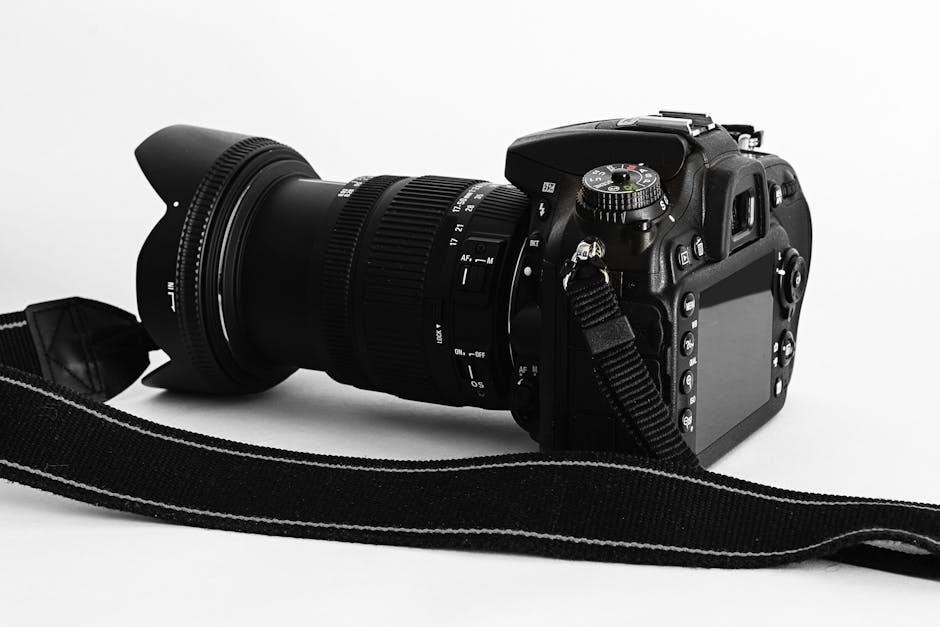
Understanding the Camera Body and Controls
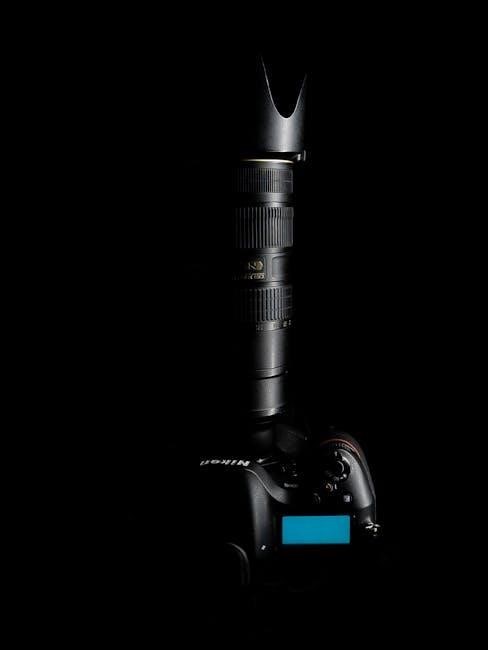
The Nikon D810 boasts a robust build with intuitively placed controls․ Familiarize yourself with the top, rear, and side panels․ Key elements include the mode dial, shutter button, control dials, and various buttons for menu navigation and function access․ Understanding these controls is crucial for efficient operation and creative control․
Top Panel Controls

The D810’s top panel houses essential controls for quick adjustments․ The mode dial selects shooting modes (Auto, PASM, U1-U3)․ Control dials manage aperture, shutter speed, and exposure compensation․ The shutter button initiates capture, while the ISO button allows sensitivity adjustments․ A dedicated video record button starts and stops video recording․
Rear Panel Controls
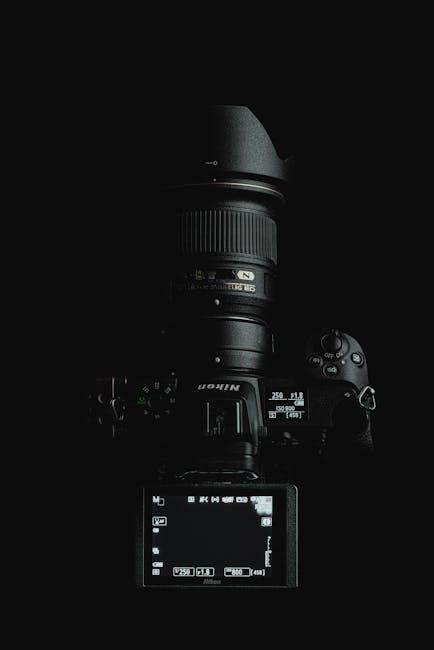
The rear panel provides access to numerous settings and functions․ The LCD screen displays images and menus․ The directional pad navigates menus and selects focus points․ Dedicated buttons control white balance, image quality, and live view․ The ‘i’ button offers quick access to frequently used settings․ A playback button reviews captured images․
Side Panel Controls & Ports
The D810’s side panel houses essential connectivity options․ You’ll find ports for headphones, microphones, and remote shutter release․ A USB port facilitates data transfer to computers․ The HDMI port enables video output to external displays․ Compartments protect these connections, ensuring a secure and organized setup for various accessories and workflows․
Shooting Modes Explained
The Nikon D810 offers a versatile range of shooting modes to suit every photographer’s needs․ From fully automatic options for beginners to precise manual control for experienced users, the camera adapts․ Explore Auto, Scene, PASM (Program, Aperture-Priority, Shutter-Priority, Manual), and customizable User modes (U1, U2, U3) for tailored shooting experiences․
Auto Modes (Auto, Scene)
Nikon’s Auto modes simplify photography for beginners․ The Auto mode intelligently selects settings for various situations․ Scene modes, like Portrait, Landscape, and Sports, optimize settings for specific subjects․ These modes prioritize ease of use, allowing quick, convenient image capture without manual adjustments, perfect for everyday shooting․

PASM Modes (Program, Aperture-Priority, Shutter-Priority, Manual)
PASM modes offer creative control over your images․ Program (P) balances aperture and shutter speed․ Aperture-Priority (A) lets you set the aperture, while the camera adjusts shutter speed․ Shutter-Priority (S) controls shutter speed, with the camera adjusting aperture․ Manual (M) grants full control over both, enabling precise exposure adjustments for artistic effect․
Custom Shooting Modes (U1, U2, U3)
Nikon’s U1, U2, and U3 modes provide personalized shooting experiences․ Save frequently used settings combinations – aperture, shutter speed, ISO, focus, and more – to these user-defined presets․ Quickly recall these settings for specific scenarios, streamlining your workflow and ensuring consistent results in diverse photographic situations․
Focusing System: Mastering Autofocus
The D810’s advanced autofocus system delivers exceptional precision and speed; Explore AF-S for static subjects, AF-C for tracking motion, and AF-A for automatic mode selection․ Utilize various focus area modes – single-point, dynamic-area, group-area, and auto-area – to optimize focus for different scenes and subjects, achieving consistently sharp images․
Autofocus Modes (AF-S, AF-C, AF-A)
AF-S (Single) is ideal for stationary subjects, locking focus when the shutter button is half-pressed․ AF-C (Continuous) continuously tracks moving subjects, maintaining focus while they move․ AF-A (Automatic) intelligently switches between AF-S and AF-C, adapting to the scene․ Choose the mode that best suits your shooting situation!
Focus Area Modes (Single-point, Dynamic-area, Group-area, Auto-area)
Single-point AF utilizes one focus point for precise targeting․ Dynamic-area AF uses surrounding points if the subject moves․ Group-area AF employs a cluster of points, excellent for erratic movement․ Auto-area AF lets the camera automatically select focus points – convenient but less precise․ Select the mode based on subject behavior!
Manual Focus Techniques
Utilize Live View for magnified precision when manually focusing․ Employ focus peaking, highlighting in-focus areas, for sharper results․ Rotate the focusing ring smoothly, observing the image clarity․ For static subjects, careful adjustment yields optimal sharpness․ Practice makes perfect; manual focus enhances control and creative possibilities!
Exposure Control: Achieving Perfect Images
Mastering exposure involves balancing aperture, shutter speed, and ISO․ Aperture controls depth of field, shutter speed affects motion blur, and ISO impacts sensitivity․ Utilize metering modes – Matrix, Center-weighted, or Spot – to assess scene brightness․ Employ exposure compensation to fine-tune brightness for perfectly exposed photographs․
Aperture, Shutter Speed, and ISO Relationship
These three settings form the exposure triangle․ Aperture dictates light intake and depth of field; a wider aperture (lower f-number) creates shallow depth․ Shutter speed controls exposure duration, freezing or blurring motion․ ISO amplifies signal, increasing brightness but potentially adding noise․ Balancing these is key for optimal results․
Metering Modes (Matrix, Center-weighted, Spot)
The D810 offers three metering modes for accurate exposure․ Matrix metering analyzes the entire scene․ Center-weighted prioritizes the center of the frame, ideal for portraits․ Spot metering measures a very small area, useful for challenging lighting․ Selecting the right mode ensures properly exposed images in diverse conditions․
Exposure Compensation
Exposure compensation allows you to fine-tune the camera’s suggested exposure․ Use it to brighten or darken images when the camera’s meter is fooled by tricky lighting situations․ Adjust in steps of 1/3 or 1/2 EV․ Positive values brighten, negative values darken – achieving your desired look is now easier!

Image Quality and File Formats
The D810 offers versatile image quality options․ Choose between RAW for maximum editing flexibility, or JPEG for smaller file sizes and immediate sharing․ Adjust image size and quality settings to balance detail and storage space․ Understanding these formats unlocks your creative potential, ensuring optimal results for every shot․
RAW vs․ JPEG
RAW files capture all image data, offering extensive post-processing control for adjustments to exposure, white balance, and more․ JPEG files are compressed, resulting in smaller sizes but with some data loss․ RAW is ideal for critical work, while JPEG suits quick sharing and everyday photography, balancing quality and convenience․
Image Size and Quality Settings
The D810 offers various image size options, from large for maximum detail to small for efficient storage; Quality settings determine compression levels; higher quality means larger files with less compression․ Choose settings based on intended use – large/fine for prints, smaller/normal for web sharing, balancing detail and file size․
White Balance Settings
Accurate white balance ensures colors appear natural under different lighting conditions․ The D810 provides presets like Daylight, Cloudy, and Tungsten․ Auto White Balance generally performs well, but custom settings offer precise control․ Fine-tuning allows adjustments for color temperature, correcting unwanted color casts for truly realistic images․
Video Recording with the D810
The Nikon D810 captures Full HD 1080p video at various frame rates, including 24p, 30p, and 60p, offering creative flexibility․ External microphones can be connected for superior audio quality․ Explore customizable video settings to adjust parameters like aperture and ISO, achieving professional-looking results with ease․
Video Resolution and Frame Rates
The D810 excels in video, offering Full HD 1920×1080 resolution․ Frame rate options include the cinematic 24p, standard 30p, and smooth 60p for diverse shooting styles․ Selecting the appropriate frame rate impacts motion blur and overall video aesthetic, allowing for creative control․
Audio Recording Options
The Nikon D810 features a built-in stereo microphone for basic audio capture․ However, for professional results, an external microphone is highly recommended․ A standard 3․5mm microphone jack allows connection of various external mics, enhancing sound quality significantly․ Monitor audio levels via headphones during recording․
Video Settings and Customization
Customize video output for diverse needs; the D810 allows adjustments to frame rates, resolutions, and picture profiles․ Explore options like flat picture control for post-production grading․ Fine-tune audio levels and enable zebra stripes for exposure monitoring․ Utilize custom settings to streamline your video workflow efficiently․
Menu Navigation and Customization
The D810’s menu system, while extensive, becomes intuitive with practice․ Understand its logical organization for efficient settings access; Customize button assignments to prioritize frequently used functions․ Save and load personalized settings profiles (U1, U2, U3) for quick recall in varying shooting scenarios, enhancing workflow speed and adaptability․
Understanding the Menu System
Navigating the D810’s menu requires familiarity with its categorized structure․ Settings are grouped logically – shooting, display, setup, and custom settings․ Utilize the ‘My Menu’ option to create a personalized shortcut to frequently adjusted parameters․ The information architecture promotes efficient access to essential camera controls and customizations․
Customizing Button Assignments
The D810 allows extensive button customization for a tailored shooting experience․ Access the ‘Custom Setting’ menu to reassign functions to various buttons and controls․ This empowers photographers to prioritize frequently used features, streamlining workflow and enhancing responsiveness․ Personalize the camera to match your shooting style for optimal efficiency․
Saving and Loading Custom Settings
Preserve your personalized camera setups with the D810’s custom setting storage․ Utilize the ‘Custom Setting’ menu to save preferred configurations to U1, U2, or U3 shooting modes․ Quickly recall these settings for different shooting scenarios, ensuring consistent results․ This feature is invaluable for photographers working in varied conditions․
Maintenance and Troubleshooting
Ensure your Nikon D810’s longevity with proper care․ Regularly clean the sensor to maintain image quality, and follow battery care guidelines for optimal performance․ Address common issues like error messages or autofocus problems using the troubleshooting section․ Consistent maintenance prevents costly repairs and keeps your camera functioning flawlessly․
Cleaning the Sensor
Dust on the sensor impacts image clarity․ Use a blower to remove loose particles first․ If needed, employ a sensor cleaning kit – swabs and cleaning fluid – with extreme care․ Follow the D810’s menu-guided sensor cleaning function․ Improper cleaning can damage the sensor; professional cleaning is recommended for persistent issues․
Battery Care and Charging
Utilize the provided MH-33 charger for optimal battery life․ Avoid extreme temperatures during charging and storage․ Fully discharge and recharge the battery periodically to maintain capacity․ Store spare batteries in a cool, dry place․ Never disassemble or modify the battery; only use genuine Nikon batteries for safety․
Common Troubleshooting Issues
If the camera doesn’t power on, check the battery and compartment contacts․ For memory card errors, reinsert or try a different card․ Lens issues? Ensure proper attachment․ If the display is dim, adjust brightness․ Resetting to factory defaults can resolve software glitches; consult the full manual for detailed steps․