This manual provides essential guidance for diagnosing and resolving common issues with Swift hot water systems, ensuring safe and efficient operation.
Understanding basic troubleshooting steps can prevent costly repairs and maintain a consistent hot water supply for your household needs.
System Overview
Swift hot water systems, encompassing gas, electric, and dual-fuel models (GEHW, EHW, GEHW), are designed for reliable performance and longevity, proudly Australian-made. These systems deliver heated water for various domestic applications, utilizing either gas combustion or electric resistance heating, or a combination of both.
Key components include a storage tank, heating element (or gas burner), thermostat for temperature control, pressure relief valve for safety, and associated plumbing connections. Regular maintenance, as outlined in the installation instructions, is crucial for optimal functionality. Understanding the interplay of these components is fundamental for effective troubleshooting. Always prioritize safety, especially when dealing with gas appliances, and adhere to the provided safety information.
Safety Precautions
Prioritize safety when working with your Swift hot water system. If you smell gas, immediately open windows and doors, extinguish all flames, and avoid operating electrical switches. Contact your gas supplier or emergency services (‘000’ in Australia) without delay.
Remember the appliance generates significant heat; avoid storing flammable materials nearby. Supervision is essential if individuals with reduced physical or mental capabilities are near the system. Never attempt to operate the unit with external timers or remote controls. Accessible parts can become hot – keep children away. Regularly test the pressure relief valve, ensuring the discharge pipe remains open to the atmosphere.
Troubleshooting ⎯ No Hot Water
If your Swift system isn’t heating water, begin by verifying the power or gas supply and checking thermostat settings for proper operation.
Check Power/Gas Supply
For electric systems, confirm the circuit breaker hasn’t tripped. Reset if necessary, but if it trips again, a professional is needed. For gas systems, ensure the gas valve is fully open. If you smell gas, immediately open windows, extinguish flames, avoid electrical switches, and contact your gas supplier or emergency services (000).
Verify the unit is receiving power or gas. A disconnected power cord or a shut-off gas valve are common culprits. Double-check connections and ensure no recent power outages have affected the system. If the issue persists after verifying these basic elements, proceed to examine the thermostat settings for potential misconfigurations. Remember safety first – if unsure, consult a qualified technician.
Examine Thermostat Settings
Carefully inspect the thermostat to ensure it’s set to the desired temperature. Accidental adjustments or a lowered setting can result in no hot water. Verify the thermostat is functioning correctly; a faulty thermostat may not accurately register the water temperature. Some systems have multiple settings – confirm the correct mode is selected (e.g., auto, on, vacation).
If the thermostat appears damaged or unresponsive, replacement is recommended. Avoid attempting self-repair of electrical components. A qualified technician can accurately diagnose thermostat issues and ensure proper functionality. Remember, incorrect thermostat settings are a frequent cause of hot water problems, so a thorough check is essential before investigating further.
Inspect Circuit Breaker/Gas Valve
For electric systems, check the circuit breaker dedicated to the hot water heater. A tripped breaker indicates an electrical fault and will cut power to the unit. Reset the breaker if tripped, but if it trips again immediately, do not continue resetting – call an electrician.
For gas systems, verify the gas valve is in the ‘on’ position. If you smell gas, immediately follow the safety procedures outlined in the manual (open windows, extinguish flames, do not use electrical switches, and contact your gas supplier). Never attempt to repair a gas valve yourself; this requires a qualified gas technician.
Troubleshooting ⎯ Water Not Hot Enough
Insufficient hot water can stem from thermostat settings, dip tube degradation, or sediment build-up within the tank, impacting heating efficiency.
Thermostat Adjustment
Begin by verifying the thermostat setting on your Swift hot water system. A lower temperature setting will naturally result in less hot water. Carefully increase the thermostat temperature in small increments, allowing several hours for the system to adjust after each change.
Avoid excessively high settings, as this can pose a scalding risk and increase energy consumption. Refer to the system’s manual for the recommended temperature range, typically around 120-140°F (49-60°C).
If your system has multiple thermostats (for example, upper and lower elements in an electric system), ensure both are set to the desired temperature. Incorrectly calibrated thermostats can also cause issues; consider professional calibration if adjustments don’t resolve the problem.
Dip Tube Issues
A fractured or deteriorated dip tube within your Swift hot water heater can cause lukewarm water. The dip tube directs cold water to the bottom of the tank for efficient heating. If damaged, cold water mixes with already heated water near the top, reducing overall temperature.
This issue is more common in older tanks. Diagnosing a dip tube problem often requires a professional inspection, as it’s not easily visible. Symptoms include a short burst of hot water followed by a rapid drop in temperature during use.
Replacing the dip tube typically involves draining the tank and accessing it through the cold water inlet; it’s often recommended to replace the entire tank if it’s significantly corroded.
Sediment Build-Up
Over time, mineral deposits – sediment – accumulate at the bottom of your Swift hot water tank, reducing heating efficiency and potentially damaging the heating element. This sediment acts as an insulator, forcing the heater to work harder and consume more energy to achieve the desired water temperature.
A rumbling or popping sound emanating from the tank often indicates significant sediment build-up. Regular flushing, as detailed in the maintenance section, is crucial for preventing this.
Severe build-up can lead to overheating and premature tank failure. Professional descaling may be necessary for heavily sedimented tanks, ensuring optimal performance and longevity.
Troubleshooting ⎯ Leaking Tank
A leaking tank requires immediate attention; inspect the pressure relief valve, assess for corrosion, and carefully check all connections for any signs of water.
Pressure Relief Valve Examination
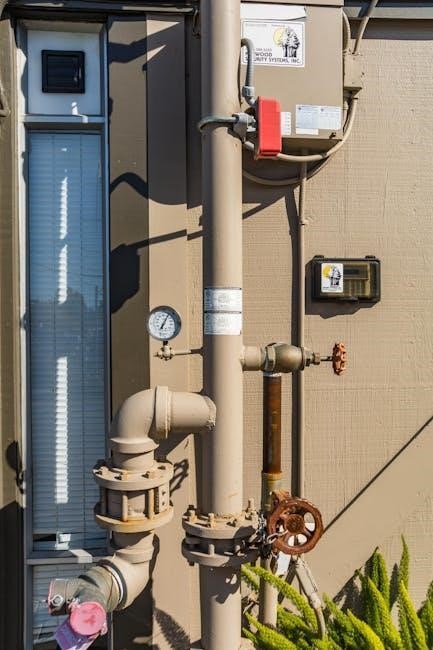
The pressure relief valve is a critical safety component, designed to release excess pressure and prevent tank rupture. Begin by visually inspecting the valve for any signs of corrosion, damage, or mineral buildup. Carefully check the discharge pipe connected to the valve; ensure it’s properly directed downwards and terminates safely, allowing for visible dripping.
Gently lift the test lever on the valve – a brief discharge of water is normal, confirming it’s functioning. If water continuously leaks after releasing the lever, the valve may be faulty and require replacement by a qualified technician. Remember, the discharge pipe must remain open to the atmosphere, and be plumbed to the exterior. Regular operation removes lime deposits, ensuring continued functionality and preventing potential hazards.
Tank Corrosion Assessment
Corrosion is a primary cause of tank failure in hot water systems, leading to leaks and potential water damage. A thorough visual inspection is crucial; look for rust spots, bubbling paint, or signs of water staining around the tank’s base and seams. Gently tap the tank’s surface – a dull, hollow sound may indicate corrosion has thinned the metal.
Pay close attention to areas near the inlet and outlet connections, as these are prone to corrosion. If significant corrosion is detected, immediately discontinue use and consult a qualified plumber for assessment and potential replacement. Ignoring corrosion can lead to catastrophic tank failure and significant property damage. Regular anode rod inspection (see Maintenance section) helps mitigate corrosion.
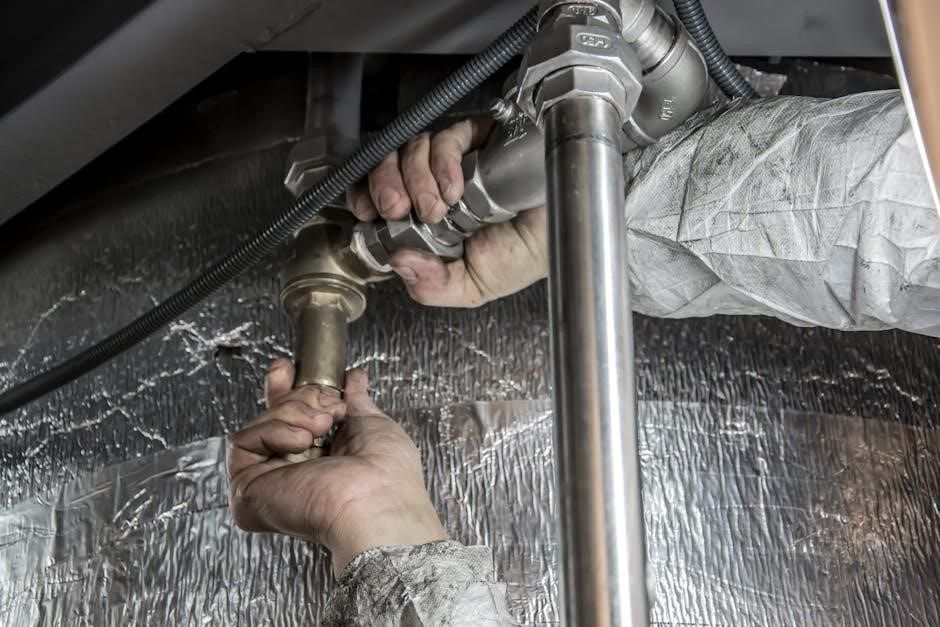
Connection Inspection
Carefully examine all pipe connections – both hot and cold water inlets/outlets – for any signs of leaks or corrosion. Check the threaded connections for tightness, but avoid over-tightening, which can damage the fittings. Inspect the dielectric unions (if present) for signs of deterioration or corrosion, as these prevent galvanic corrosion between dissimilar metals.
Look for water stains or mineral deposits around the connections, indicating past or present leaks. Ensure the temperature and pressure relief (TPR) valve discharge pipe is securely connected and directed to a safe discharge point. Any loose or corroded connections should be tightened or replaced by a qualified plumber to prevent water damage and maintain system efficiency.

Troubleshooting ౼ Unusual Noises
Strange sounds from your Swift hot water system can indicate underlying problems; identifying the noise type is crucial for accurate diagnosis and repair.
Sediment Rumbling
A rumbling noise emanating from within the hot water tank typically signifies a build-up of sediment – minerals like calcium and magnesium – at the bottom. This sediment overheats as it insulates the water from the burner or heating element, causing it to boil and create the rumbling sound.
Over time, excessive sediment accumulation reduces the tank’s efficiency, increases energy consumption, and can even damage the heating element or tank itself. Regular flushing, as detailed in the maintenance section, is vital to prevent this. Ignoring the rumbling can lead to more serious and costly repairs, potentially requiring tank replacement. The sound often intensifies during heating cycles.
Gas Valve Clicking
A rapid clicking sound originating from the gas valve often indicates the valve is attempting to ignite the burner but failing to do so consistently. This can stem from several issues, including a faulty thermocouple, a dirty pilot light assembly, or a problem with the gas supply itself.
If you smell gas, immediately follow the safety procedures outlined in the safety information recap – ventilate the area and contact your gas supplier. Do not attempt to repair the gas valve yourself; this is a job for a qualified technician. Continued clicking without ignition is a safety hazard and requires immediate attention to prevent gas build-up.
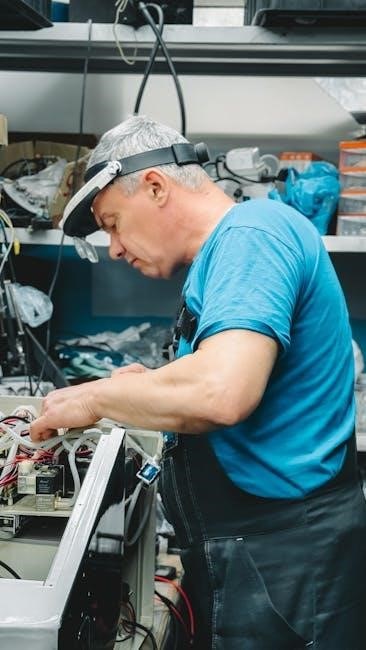
Pump/Motor Issues
Unusual humming, grinding, or complete silence from the pump or motor can signal a problem. These components are crucial for circulation, and failure impacts hot water delivery. Check for obstructions hindering the pump’s impeller, like sediment buildup. A failing motor might exhibit overheating or a burning smell – immediately disconnect power if this occurs.
Electrical issues, such as a faulty capacitor or wiring, can also cause motor malfunctions. Attempting repairs requires electrical expertise; contact a qualified technician. Ignoring pump/motor problems can lead to system overheating and potential damage. Regular maintenance, including inspection and cleaning, can prolong component lifespan.

Maintenance & Prevention
Regular system maintenance is key to preventing issues and extending the lifespan of your Swift hot water heater, ensuring reliable performance.
Regular Flushing
Sediment build-up is a common culprit behind reduced efficiency and potential damage to your Swift hot water system. Regular flushing helps remove this accumulation, ensuring optimal performance and extending the unit’s lifespan. It’s recommended to flush your tank at least annually, or more frequently if you have hard water;
To flush the tank, turn off the power or gas supply and allow the water to cool. Attach a hose to the drain valve located near the bottom of the tank and direct it to a suitable drain. Open the drain valve and allow the tank to empty completely.
Once drained, briefly open the cold water inlet valve to stir up any remaining sediment, then close it and reopen the drain valve. Repeat this process until the water runs clear. Finally, close the drain valve, refill the tank, and restore power or gas.
Anode Rod Inspection
The anode rod is a sacrificial component designed to protect your Swift hot water tank from corrosion. It corrodes instead of the tank itself, extending its lifespan significantly. Regular inspection – ideally annually – is crucial to ensure the rod is still functioning effectively.
To inspect the anode rod, turn off the power or gas supply and drain some water from the tank. Locate the anode rod (usually under a hex head plug on top of the tank) and carefully remove it. If the rod is significantly corroded – less than 6 inches of core wire remaining – it needs replacement.
Replacing a depleted anode rod is a relatively simple maintenance task that can prevent costly tank failure down the line, safeguarding your hot water supply.
Pressure Relief Valve Testing
Regularly testing the pressure relief valve (PRV) on your Swift hot water system is vital for safety. The PRV prevents dangerous pressure build-up within the tank. Testing should be performed at least annually, or whenever you suspect a malfunction.
To test, carefully lift the test lever on the PRV. A burst of hot water should discharge through the drain pipe. Ensure the pipe is directed safely towards a drain. If no water discharges, or if the valve continues to leak after releasing the lever, it requires immediate replacement.
A functioning PRV is a critical safety feature, protecting against potential tank rupture and ensuring safe operation.

Safety Information Recap
Prioritize safety when working with your Swift hot water system. Always extinguish flames if you smell gas, and never use flammable liquids nearby.
Gas Leak Procedures
If you suspect a gas leak with your Swift hot water system, immediate action is crucial for safety. First, open all windows and doors to ventilate the area thoroughly, allowing the gas to dissipate. Extinguish any open flames – this includes cigarettes, lighters, and any appliance with a pilot light.
Do not operate any electrical switches, as a spark could ignite the gas. Avoid using phones within the affected area, as even the act of ringing can create a spark. Immediately contact your gas supplier to report the leak and request assistance. If you are unsure who to call, dial ‘000’ (emergency services) for guidance and support.
Evacuate the premises until the gas company confirms it is safe to return. Remember, a gas leak is a serious hazard, and prompt, decisive action is essential to protect yourself and others.
Child Safety Considerations
Swift hot water systems, while efficient, require careful consideration regarding child safety. The appliance’s exterior surfaces can become very hot during operation, posing a burn risk. Keep young children away from the unit at all times, ensuring they do not touch or play near it. Supervision is paramount; never leave children unattended in the vicinity of the hot water system.
Caution children not to play with the appliance or any associated controls. Be aware that water may drip from the pressure-relief device’s discharge pipe, which could also be hot. Ensure this pipe is directed safely and doesn’t pose a scalding hazard. Regularly check for leaks and address them promptly to prevent potential accidents.
Prioritizing these safety measures will help create a secure environment for your family.